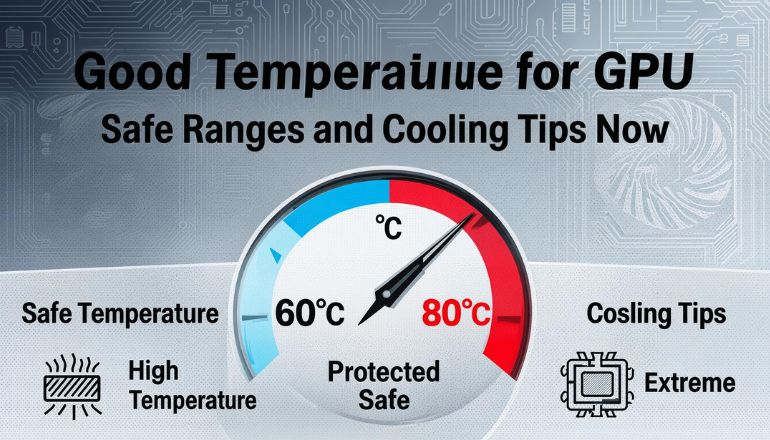
Good Temperature for GPU: Safe Ranges and Cooling Tips Now
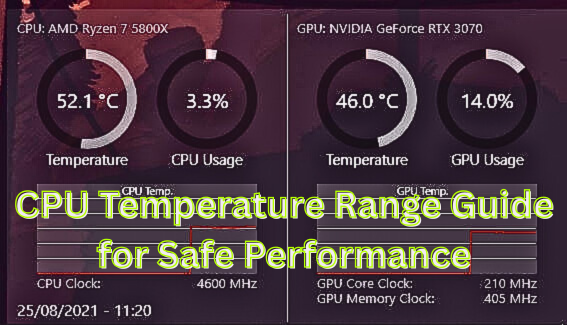
Your graphics card can be quietly working harder than anything else in your PC, and the first clue…
Your graphics card can be quietly working harder than anything else in your PC, and the first clue…
Your computer might look calm on the outside, but inside it’s a tiny furnace working nonstop. And understanding…

There’s nothing quite as unsettling as hearing your laptop fan roar like a jet engine or feeling your…
When your laptop suddenly shuts down in the middle of work or your gaming PC starts sounding like…
Your computer might look calm on the outside, but inside, your CPU could be running hotter than you…
Introduction You’ve invested serious money into your gaming rig. The RGB glows. The fans hum. The frame rates…

Ever tried launching your favorite game only to be greeted with a frustrating “DirectX 11 required” error? You’re…

Explaining what RPM would be normal for my CPU fan or what are recommended fan speeds at certain degrees?
The fan should start running when you switch on your computer. It helps keep the computer cool as…

What is the ideal idle CPU temperature for laptop and Windows PC?

Solve most common problem relating to SpeedFan utility in Windows 10 and 7.

Resolve Corsair iCUE's fan detection issues with simple troubleshooting steps.