Popular CPU Temp Guides
Find the best guides on high PC CPU temperature solutions. How to check PC temp and prevent it from overheating. Get the latest tools list that help you diagnose temperature issues.

How To Control CPU Fan Speed on Laptop and PC Windows 10/11

How To Fix Skyrim Won’t Launch After Pressing Play On Windows 11 and 10 PC?
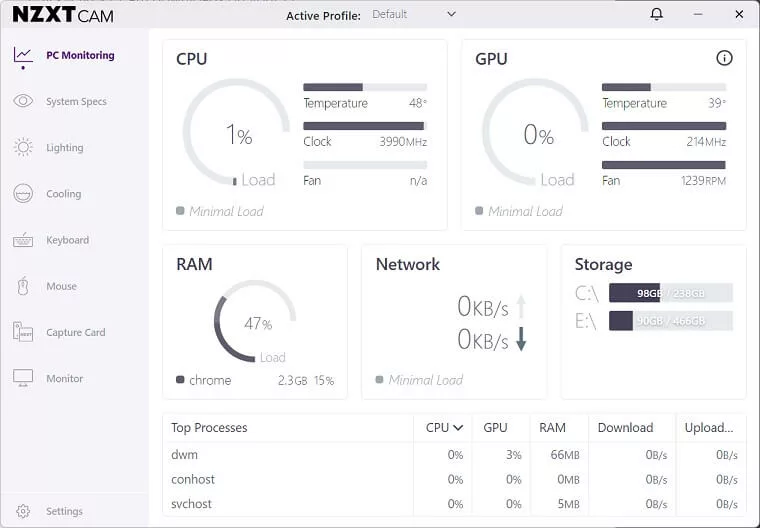
NZXT CAM Download For Windows 10 (2024 Latest Version)
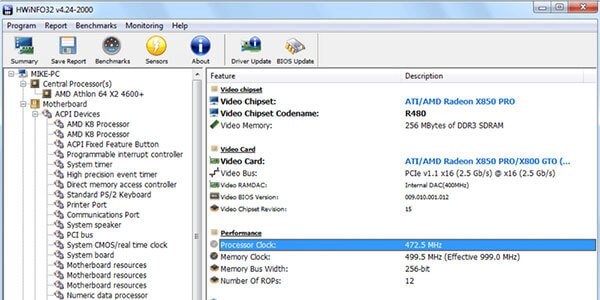
HWiNFO64 Free Download – System Diagnostic Tool
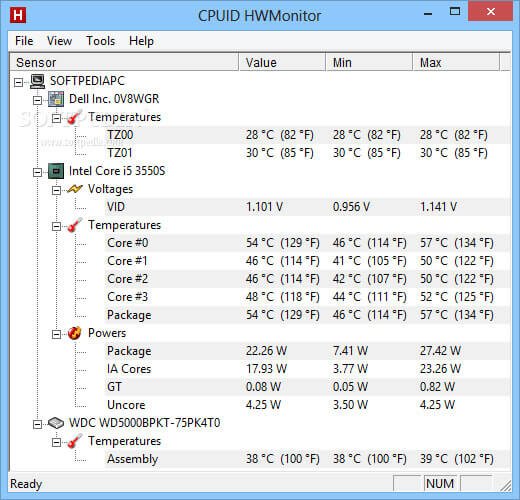
CPUID HWMonitor Free Download -Best Free Hardware Monitoring Tool

8 Best Tools To Monitor System Hardware For Windows 11 PC in 2024

Ultimate Guide To Diagnose and Fix Overheating Laptop

How To Fix NZXT Cam Not Opening/ Detecting or Showing Anything 2024
Game Fixes & Solutions
Facing crashing, freezing, FPS drops, or not loading issues while playing modern games on PC, PlayStation, or XBOX. Read our tested solutions that will help you fix gamer errors.

How To Fix The KOF XV Keeps Crashing & Freezing on PC
How To Fix Total War Warhammer 3 Crashing While Campaign Load or Startup

How To Fix Halo Infinite Black Screen Issues on PC in 2024?

How To Fix Diablo II Resurrected Crashing on Startup 2024

How To Fix Mount & Blade 2: Bannerlord Keeps Crashing Issues
![[Fixed] Resident Evil Village Lag Issues on PC](https://www.cputemper.com/wp-content/uploads/2022/04/Fixed-Resident-Evil-Village-Lag-Issues-on-PC.jpg)
How To Fix Resident Evil Village Lag Issues on PC

How To Fix Destiny 2 Broccoli Error Code on Windows PC

How To Fix Days Gone Not Launching or Stuck on Loading Screen Issue
Game Cheat Codes
Cheats are a fun way to enhance the gaming experience. Check our developer-made game cheats that will give you an edge over pro players.

GTA Vice City Cheats For PC, PS4, PS5, & XBOX

All GTA 3 Cheats For PS5, PS4, Xbox, PC in 2024
List Of Age Of Empire 3 Cheats Codes For PC
List of Baldur’s Gate 3 Cheats & Console Commands For PC/PS5 Updated Apr, 2024
Oddworld: Stranger’s Wrath HD Cheats For PC/PS3/PS4/Xbox

God Of War PC Cheat Codes For PS3/PS4/Xbox

Destroy All Humans Cheat Codes For PC/PS2/PS4/XBOX

Crash Bandicoot 4: It’s About Time Cheats & Trainers For Windows PC
Roblox Guides, Executors, & Scripts
Roblox is a popular game with a lot of error problems. Check our Roblox fixes and if you are interested get mobile executors to run scripts.
CodeX Executor 2.620 APK Download For Android
Delta Executor New Update For APK (v10.18 – 2.616) Download
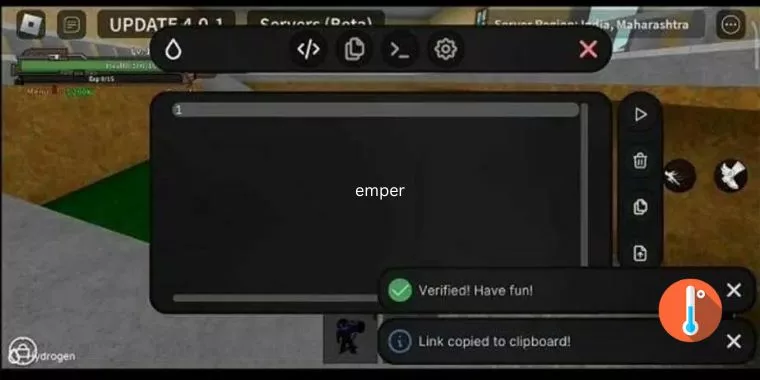
Download Hydrogen Executor v2.6.4.2 APK For Android Roblox 2.616
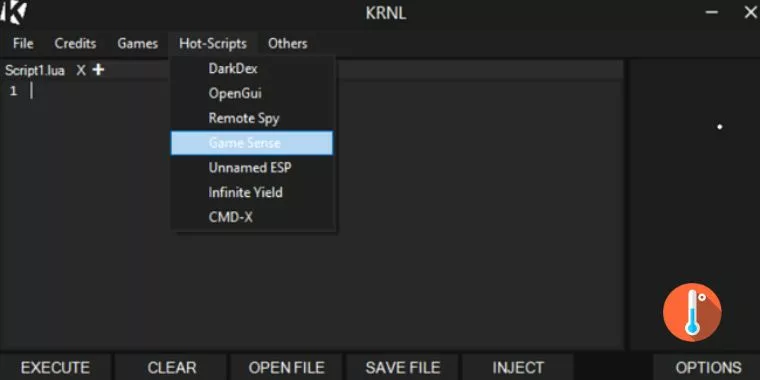
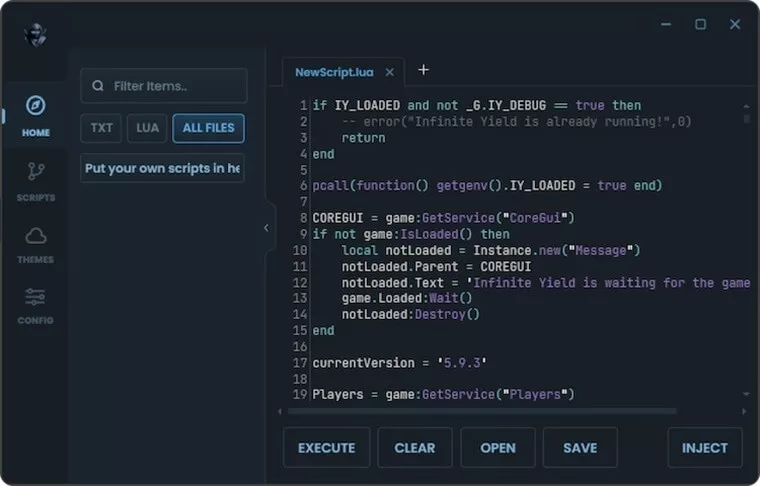
Krnl Executor Download for Free – 2024 Latest Version

Furk Ultra Executor Download Latest Version 2024
Roblox Mod Menu APK Download For Android (Mega Menu, 60+ Features)

Fluxus Executor v7 APK Download For Android Mobile

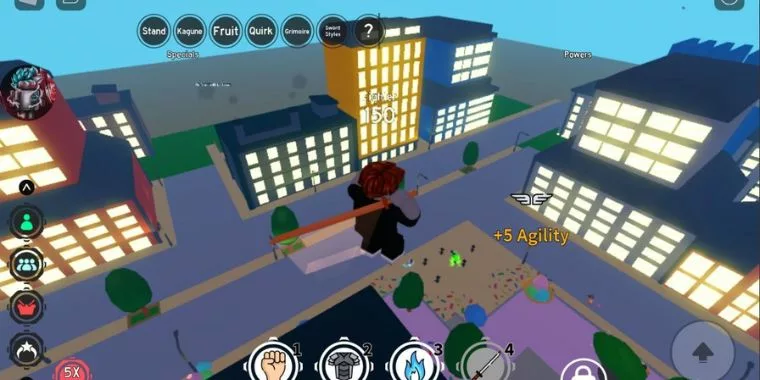
Arcane Lineage Script Pastebin, Auto Farming, Auto Dodge, Auto Perfect Skill, More
PC Monitoring Tools
For gamers PC health monitoring tools are crucial. Check out our review on a PC monitoring tool that lets you check your system problems at a glance.
Geometry Dash 2.2 Download Full Version For PC
8 Best CPU Fan Control Software For Windows PC (2024)
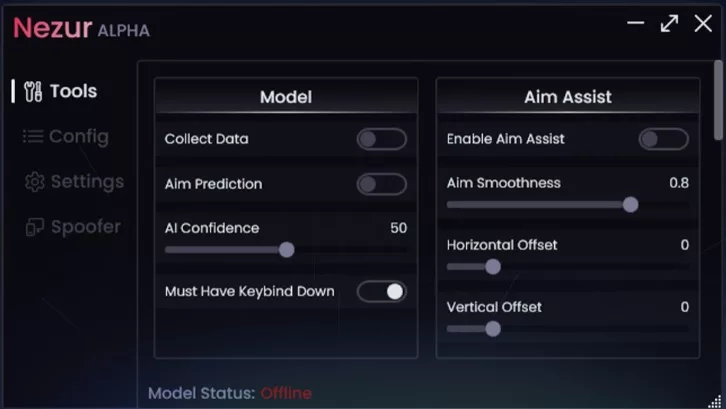
Nezur Executor Download – Latest 2024 PC Roblox Exploit
WeMod Download For PC [ Latest Version 2024]
Logitech Setpoint 32/64-bit Download For Windows 11 & 10 PC (Latest Version)

Logitech Unifying Software Download Latest Version 2024
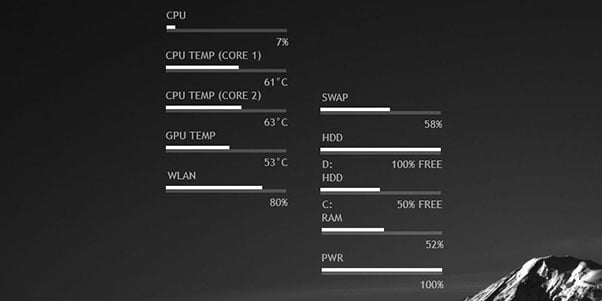
How To Download Rainmeter CPU Temp Monitor in 2024
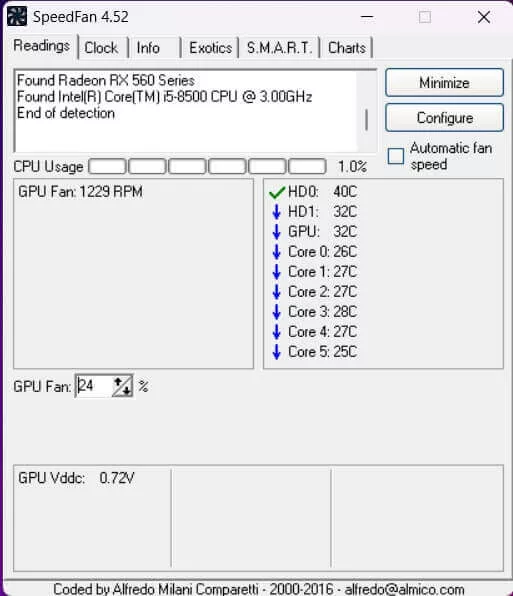
Download SpeedFan 4.52 For Windows 10/11 PC
Reshade
Imagine your favorite PC game with ambient occlusion, real depth of field effects, and color correction. Get Reshade latest and it’s an old version to add frame color and depth information.
Reshade 5.8.0 Download For FiveM, Sims 4, FFIV, GTAV, Roblox, & Minecraft
ReShade 4.9.1 Free Download For Sims 4, GTA V, Roblox, & Minecraft
Roshade Download [Latest Version 3.3.1] – Roblox Shaders Injector
Reshade 5.9.2 Download [Latest Version] For Sims4, GTAV, FFIV, Roblox, & Minecraft
ReShade 5.9.1 Free Download For Windows PC
How To Uninstall Reshade From GTA V, Roblox, Sims 4, FFIV, RDR2, Etc
How to Fix Reshade Not Opening in FiveM GTA 5- 100% Working in 2024

Reshade Sims 4: How To Download, Install and Use With Presets?
Little Alchemy 2 Recipes
Looking for recipes to create rare elements. Check our step-by-step guide of Little Alchemy 2 recipes to unlock items.

How to Make God in Little Alchemy 2 – Steps-by-Step Guide

How to Make Animal in Little Alchemy 2 – Cheats & Hints

How to Make Cheese in Little Alchemy 2 (Step-by-Step-Guide)

How To Make Livestock in Little Alchemy 2 (Step-by-Step Guide)

How To Make a Cow in Little Alchemy 2 (Step-by-Step Guide)
How to Make Milk in Little Alchemy 2 (Step-by-Step)

How To Make Yoda in Little Alchemy 2 From Scratches (Step-by-Step Guide)